Patio Misting Tip: Measure Your Run Before You Buy a Kit
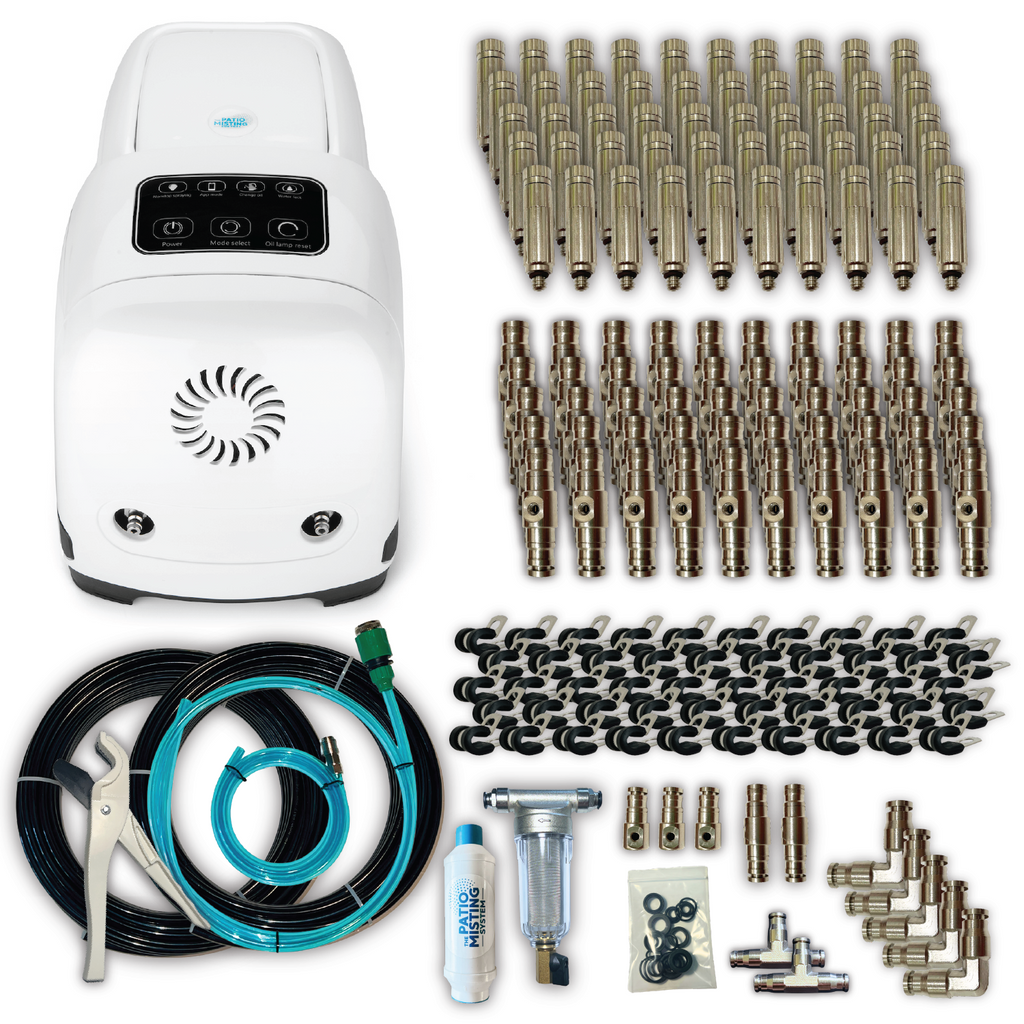 Shop now: The Patio Misting System Pro →
Patio misting projects stall when the tubing comes up short at the last corner or when leftover coils tempt people to overcrowd nozzles. Ten minutes with a tape measure before you order The Patio Misting System Pro prevents both problems.
Trace the mist edge, not the floor area
Measure the linear edge where clamps will sit: fascia, beam underside or top rail. Include every jog around a chimney or post. The Pro kit suits about 20 to 100 linear feet, with 100 ft of 1/4" OD tubing in the box.
Count corners and branches
Each right angle needs a 90° L connector (five ship in the kit). Each split toward a second seating nook needs a T connector (two included). End each branch with an end cap that still accepts a nozzle. Straight no-hole fittings bridge gaps where you want dry tubing over a grill pass-through.

Sketch nozzle spacing
The installation FAQ notes about forty nozzles is typical when mixing sizes, even though fifty stainless tips come in the kit. Mark denser spacing over open sun seats and wider gaps near doors. Leave one coupler empty until after the first flush.
Confirm utilities on the sketch
Note hose bib location, GFCI-capable outlet and a shaded pad for the pump. Knowing those points up front keeps the feed line short and the motor out of sight.
When measurements check out, the five install steps on PatioMistingSystemInstallation.com turn the sketch into a working patio misting run.